


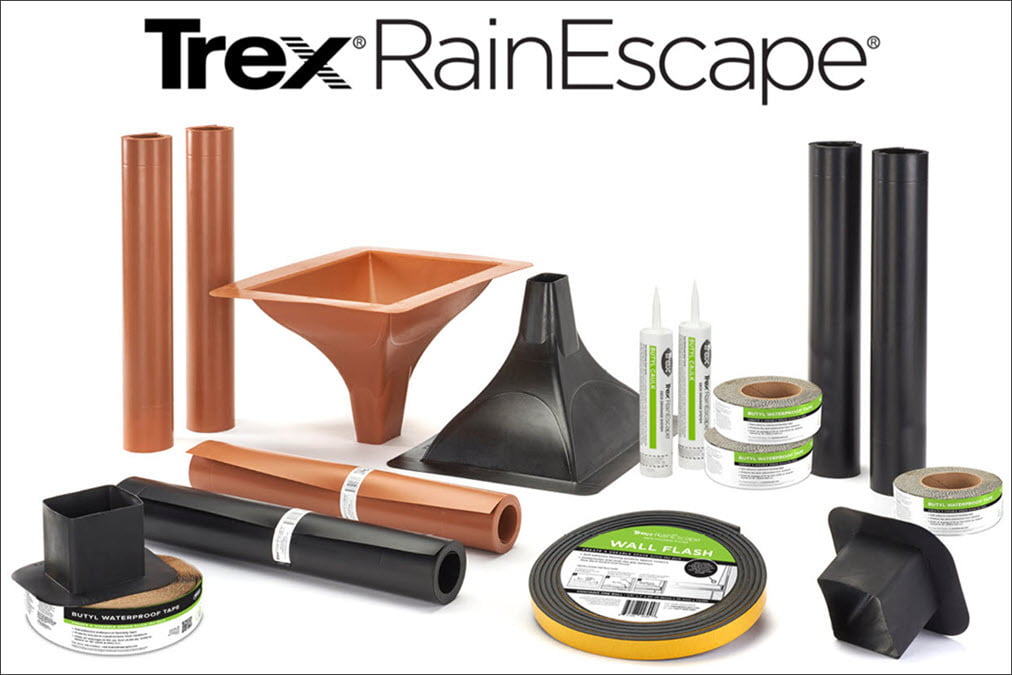


TREX RainEscape Trough
$55.35 - $73.26
Trex RainEscape Trough: Installtion
- When working with the Trex RainEscape trough material, ensure that the smooth/ shiny side always faces up. Do Not Seam Or Overlap The Troughs To Extend Its Length.
- Line up the 1-1/2” score with the second joist.
- At the ledger slide 3” of trough under existing siding or flashing ensuring trough sits on top of ledger board.
- Place first staple at ledger board on inside joist to tack trough (Fig. 4).
- Unroll trough to downspout using 1-1/2” score mark on inside joist as guide.
- Cut length to back wall of downspout, cutting a 1” wide by 3/4” tab at center edge of trough (fold tab down) to prevent wicking (Fig. 5).
- To remove memory from sheet, backroll the last few inches of the trough (Fig. 6).
- Pull trough tight ensuring memory is released and place second staple on inside joist through downspout (Fig. 7).
- On outside joist, form a trough into downspout while lining up the edge of trough with outside of joist. Place third staple through trough and downspout on outside joist (Fig. 8).
- Pull corner at ledger and outside joist tight keeping entire length of trough smooth and wrinkle-free; place fourth staple on outside joist at ledger (Fig. 9).
- To test for correct slope, pour cup of water on trough at ledger board ensuring water runs to downspout.
- Continue stapling every 6” to 8” from ledger to downspout on both joists to secure.
Color
Length
Choose Quantity


